
Companion Plants
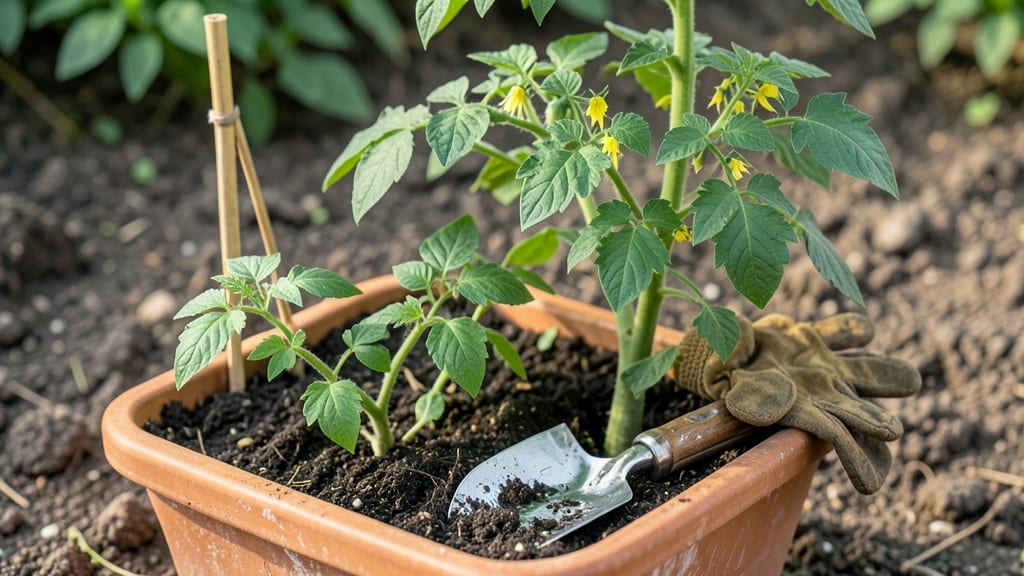
Starting tomato plants from seed means homegrown flavor that store-bought varieties can't match. 🌱 The secret to success lies in timing, warmth, and patience—three things that transform flimsy seeds into sturdy plants ready to thrive in your garden.
You'll need a sunny windowsill or grow light, seed-starting mix, and containers with drainage. I've learned the hard way that skipping the drainage holes means soggy roots and failed seedlings—don't make that mistake!
The process takes about 60-85 days from seed to transplant, but the payoff is worth every day of waiting. By the time you're ready to transplant, you'll have stocky seedlings with 4-6 true leaves, ready to handle outdoor conditions.
The first tomatoes appear in 50-60 days after transplanting, and the flavor? Unmatched by anything you can buy. This method works for both heirloom and hybrid varieties, and it's perfect for gardeners who want to grow exactly what they want—no store limitations. Let's get those seeds sprouting!
📚 In This Guide
- What you need
- Instructions
- Tips and common mistakes
- Wrapping up and next steps
What you need
- ● Tomato Seeds: 10–20 seeds (depending on your space and desired yield). Opt for heirloom or hybrid varieties suited to your climate.
- ● Seed Starting Mix: 1–2 cubic feet of high-quality, sterile potting mix (avoid garden soil—it’s too dense and may harbor diseases). Look for mixes labeled "seed starting" or "organic potting soil."
- ● Containers: 6–10 small pots (3–4 inches in diameter) or a seed tray with individual cells.
- ○ Biodegradable pots (optional but eco-friendly) or plastic pots with drainage holes.
- ● Grow Lights or Sunny Windowsill: A full-spectrum LED grow light (12–16 inches above seedlings) or a south-facing window with at least 6–8 hours of sunlight daily.
- ● Spray Bottle: For gentle watering (avoid over-saturating the soil).
- ○ Heat Mat (Optional but Helpful): A seedling heat mat (70–80°F) to speed up germination, especially in cooler climates.
- ● Fertilizer: A balanced, water-soluble fertilizer (e.g., 5-5-5 or 10-10-10) or a slow-release organic option like worm castings.
- ● Transplant Trays or Larger Pots: 5–6 inch pots or cell packs for seedlings once they’ve sprouted their first true leaves.
- ● Twine or Stakes: Small stakes (6–12 inches tall) for supporting seedlings as they grow.
- ● Humidity Dome or Plastic Wrap: To retain moisture and warmth during germination.
- ● pH Test Kit: To ensure your soil is in the ideal range (6.0–6.8 for tomatoes).
- ● Compost or Compost Tea: For a nutrient boost as seedlings grow.
- ● Insecticide (Organic): Like neem oil or insecticidal soap to prevent early pests.
- ● Garden Journal: To track planting dates, watering schedules, and growth milestones!
Step-by-step instructions for starting tomato plants indoors
Here's my foolproof method for growing strong, disease-resistant tomato seedlings ready for transplanting.
🌱 Step 1: Prepare Containers and Seed Starting Mix
Fill clean, 2-3 inch deep containers with a sterile seed-starting mix—never garden soil, which is too dense and may harbor pathogens. I prefer biodegradable peat pots because they eliminate transplant shock when it's time to move seedlings to the garden. Moisten the mix until it holds together when squeezed but doesn't form clumps.
Press the soil down lightly with your fingers so the surface is firm but not compacted. This ensures good root-to-soil contact while leaving enough air pockets for young roots to explore. Tap the container gently on the table once to settle everything evenly. Here's the thing—if your mix feels like dry sand, add a little more water and mix again until it's consistently damp throughout.
🌱 Step 2: Sow Seeds at the Correct Depth
Plant 1-2 seeds per cell at a depth of about ¼ inch—roughly the diameter of a tomato seed. Sowing too deep delays germination because the seedling must push through extra soil, exhausting its energy reserves. Cover lightly with a sprinkle of additional mix, then mist the surface gently with a spray bottle until evenly moist.
I tap the seed packet gently to release one seed at a time—planting too many in one hole leads to weak, crowded seedlings that compete for nutrients. Label each pot with the variety and date, because after a week of identical green sprouts, you'll forget which is which. This is the moment that matters: proper depth ensures consistent germination across all your seedlings.
💧 Step 3: Provide Warmth and Moisture for Germination
Cover the trays with a clear humidity dome or plastic wrap to retain warmth and moisture. Tomatoes germinate fastest at 75-85°F, so a seedling heat mat keeps the soil 10°F warmer than ambient and dramatically improves germination speed. Expect sprouts in 5-10 days, though cooler rooms may take a few extra days.
Check daily but resist the urge to water—the dome traps enough moisture that the soil stays evenly damp without intervention. Once 50% of seeds have sprouted, remove the dome immediately. Trapped humidity around new seedlings invites damping-off disease, which will collapse stems overnight. You'll know moisture is right when the soil surface looks slightly damp but not glistening.
☀️ Step 4: Move to Bright Light Immediately After Germination
The instant seedlings break through the soil, they need 14-16 hours of light daily. A south-facing window rarely provides enough intensity, so I use a full-spectrum LED grow light positioned 2-4 inches above the plants. Raise it as they grow to maintain that gap—without sufficient light, seedlings stretch desperately upward (called "leggy") and never recover proper strength.
Strong seedlings have thick stems, deep green color, and compact spacing between leaves. You'll see leggy growth as thin, pale stems with leaves spaced far apart. If this happens, move the light closer immediately. Real talk: I've lost entire batches because I ignored this warning sign—don't make my mistake.
⏰ Step 5: Harden Off Before Transplanting Outdoors
Two weeks before your last frost date, start hardening off the seedlings by placing them outside in a sheltered, shaded spot for 1-2 hours the first day. Gradually increase outdoor time by 1 hour daily over 10-14 days, slowly introducing more sun and wind. This process strengthens cell walls and prepares them for garden conditions.
Skipping this step burns leaves, breaks stems, and shocks plants severely. Once seedlings tolerate a full day outside without wilting, they're ready for the garden. Transplant on an overcast afternoon to reduce transplant shock and water deeply at the base. You'll know they're thriving when new leaves emerge within a week—that's your signal everything is working.
Tips & tricks for starting tomato plants indoors
Common pitfalls—and how to sidestep every one—when nurturing your tomato seedlings from seed to transplant.
Container and Soil Prep: The 2-3 inch depth for containers isn't just about space—it's about root development. I've found that adding a small handful of perlite to your seed-starting mix creates perfect air pockets for young roots. This prevents the dreaded "damping-off" that can wipe out seedlings overnight. Confession: I skipped this step for years and wondered why my germination rates were inconsistent.
Germination Temperature: Those 75-85°F temperatures aren't arbitrary—they're the sweet spot for tomato seeds to activate their enzymes. If your home runs cooler, consider placing your seed trays on a seedling heat mat set to 85°F. I've seen germination times cut from 14 days to just 5 when using this method. The key is maintaining consistent warmth without overheating the seeds.
Lighting Strategy: That 14-16 hours of light daily is non-negotiable, but here's what nobody tells you—you need to adjust your light's height as seedlings grow. Start with 2-4 inches above the plants, but raise it weekly to maintain that distance. I use a simple ruler to mark the height on my light stand. This prevents leggy seedlings that'll never recover their strength.
Harden-Off Progression: The gradual 1-2 hours to full day increase during hardening off isn't just about time—it's about environmental acclimation. I've found that placing seedlings in the shade of a tree for the first few sessions mimics natural garden conditions better than direct sun. This small adjustment prevents the shock that causes seedlings to wilt dramatically after transplanting.
Pro Tips for Start Tomato Plants
- Common pitfalls—and how to sidestep every one—when nurturing your tomato seedlings from seed to transplant.
- Container and Soil Prep: The 2-3 inch depth for containers isn't just about space—it's about root development. I've f...
- Germination Temperature: Those 75-85°F temperatures aren't arbitrary—they're the sweet spot for tomato seeds to activ...
Frequently asked questions
Got questions about starting tomato plants? You’re not alone! Here are answers to the most common concerns—whether you're a first-time gardener or a seasoned green thumb looking for a refresher.
When is the best time to start tomato plants indoors?
Timing depends on your climate! For most regions, start seeds 6–8 weeks before the last frost date (typically March–April in the U.S.). Use a frost date calculator to pinpoint your zone. If you’re in a warm area, you might skip indoor starts and plant seeds directly outdoors in early spring.
How long do tomato plants take to grow from seed?
Expect 60–85 days from seed to harvest, but this varies by variety. Cherry tomatoes may mature faster (50–60 days), while beefsteak types take longer (80–90 days). Keep seedlings in warm, bright conditions to speed up growth—consistent warmth (70–85°F) is key!
What if my tomato seedlings look leggy or weak?
Leggy seedlings mean they’re stretching for light! Move them closer to a grow light or sunny window (12–16 hours of light daily). Bury stems deeper when transplanting—roots will grow along the buried part. Avoid overwatering (soggy soil = weak stems) and use a balanced fertilizer (10-10-10) to boost strength.
Can I start tomato plants without grow lights?
Yes, but you’ll need a south-facing window with 6+ hours of direct sunlight daily. If natural light is limited, supplement with a full-spectrum LED bulb 12 inches above seedlings. Rotate trays daily for even growth. For best results, combine natural light with a grow light during cloudy days.
Why are my tomato seedlings dying after transplanting?
Transplant shock is common! Harden off seedlings 7–10 days before moving outdoors by gradually exposing them to outdoor temps. Use self-watering pots to avoid root stress, and water deeply at transplant time. If leaves yellow, check for overwatering or pests (like aphids). Space plants 18–24 inches apart to improve airflow.
Still stuck? Drop your question in the comments—we’re happy to help your tomato plants thrive!
Wrapping up and next steps
Starting your own tomato plants is a rewarding journey that brings fresh, homegrown flavor straight to your plate! With the right materials, a little patience, and these expert tips, you’ll be harvesting juicy tomatoes in just 60-85 days.
Remember, every gardener—from beginner to pro—starts somewhere, so embrace the process and enjoy the magic of watching your plants grow.
Now that you’re armed with knowledge, take the next step—grab those seeds, set up your growing space, and get planting! Your future tomatoes will thank you. 🌱🍅