
Planting
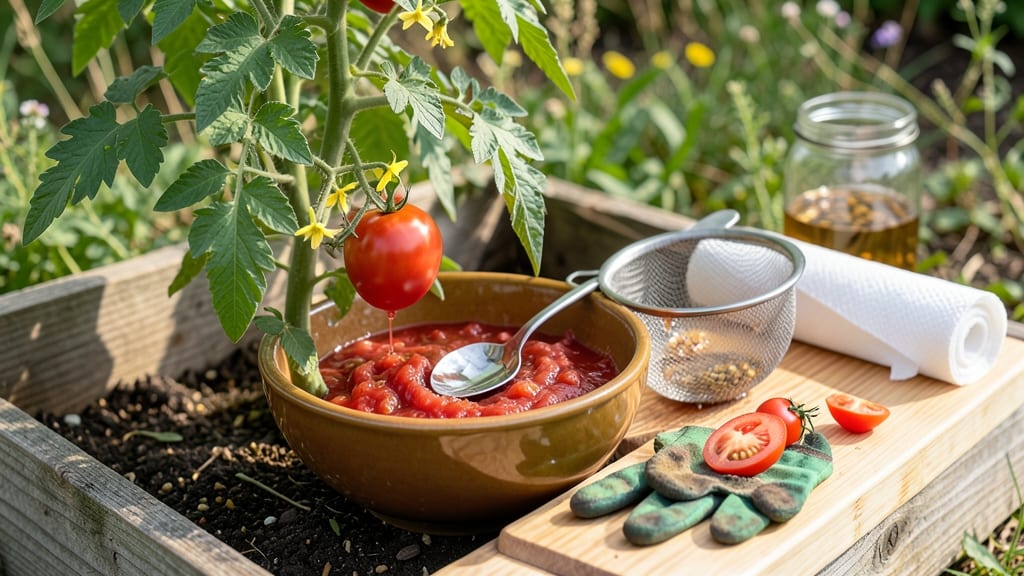
How to save tomato seeds to plant from your best heirloom varieties guarantees next year’s harvest will taste exactly like this summer’s. 🌱 The process is simpler than you’d think—no lab equipment or fancy tools required, just a little patience and a few household items. I’ve saved seeds from my Brandywine tomatoes for three years now, and every batch germinates faster than store-bought seeds.
Start with ripe, healthy tomatoes—especially heirlooms, since hybrid seeds often don’t produce true-to-type plants. Scoop out the gel-filled seeds and ferment them in water for 2-3 days to separate viable seeds from the pulp.
The good ones sink, while the bad ones float away—nature’s built-in quality control. After fermenting, rinse and spread them on a paper towel to dry completely before storing in an envelope.
By next spring, you’ll be planting seeds that carry the exact flavors and vigor of your favorite tomatoes. The first true leaves appear in 7-10 days, and you’ll know you’ve done it right when those seedlings outpace anything from a seed packet.
This method cuts costs, preserves rare varieties, and connects you to the garden’s cycle in a way store-bought seeds never will.
Works for any tomato type—just avoid hybrids if you want consistent results. Store seeds in a cool, dry place, and label them clearly. Here’s where the magic happens: your garden’s future starts with these tiny, dried treasures.
📚 In This Guide
- What you need
- Instructions
- Tips and common mistakes
- Wrapping up and next steps
What you need
- ● Mature tomato fruits – Choose ripe, fully colored tomatoes (not green!), ideally from heirloom or open-pollinated varieties for true seed-saving.
- ● Small bowl or container – A glass or ceramic bowl (at least 8 oz) to hold tomato pulp and water.
- ● Water – Distilled or dechlorinated water (tap water works in a pinch, but avoid chlorine if possible).
- ● Spoon or fork – For scooping out tomato seeds and pulp.
- ● Fine-mesh strainer or cheesecloth – To separate seeds from fermenting pulp (a paper coffee filter works too!).
- ● Paper towels or coffee filters – For drying seeds (use unbleached if possible).
- ● Small envelopes or seed packets – Paper or breathable fabric (avoid plastic to prevent mold). Label with the tomato variety and date!
- ● Permanent marker or labels – To track seed varieties (critical for next year’s garden!).
- ● Fermentation jar with lid – A small glass jar (like a mason jar) to speed up the fermentation process.
- ● Desiccant packet – To absorb moisture during seed drying (place in the envelope with seeds).
- ● Seed storage container – A small airtight container (like a glass jar with a tight lid) for long-term storage in a cool, dark place.
- ● Hand lens or magnifying glass – To inspect seed quality before planting.
- ● Notebook or spreadsheet – To log seed details (variety, germination date, location, etc.).
Step-by-step guide to saving tomato seeds for future planting
Here’s how I’ve saved seeds from my favorite heirloom tomatoes year after year—no fancy tools needed.
🍅 Step 1: Select and Harvest Ripe Tomatoes
Pick tomatoes that are fully ripe but still firm—overripe ones ferment too quickly and ruin your seeds. I always choose the best-tasting varieties from my garden, like ‘Brandywine’ or ‘Cherokee Purple,’ since their flavor carries through to the next generation. Cut the tomato open with a clean knife and scoop out the jelly-like pulp and seeds into a small bowl.
Don’t wash the seeds yet—the gel contains enzymes that help break down the seed coat. If you’re saving seeds from multiple tomatoes, mix them in the bowl to avoid accidental inbreeding (unless you’re intentionally crossing varieties). The more seeds you collect, the better your chances of a strong yield next year.
💧 Step 2: Ferment the Seeds for 3-5 Days
Fill the bowl with water until the seeds are fully submerged, then stir gently to break up the gel. Cover the bowl loosely with a lid or cloth and let it sit in a warm spot—70-75°F works best. You’ll see bubbles and a moldy scum form on top after a day or two. This fermentation process removes weak seeds and bad ones, leaving only the strongest.
Stir the mixture daily to keep the water moving and prevent mold from taking over. After 3-5 days, when the good seeds sink to the bottom and the bad ones float, dump the water and scum. The viable seeds will settle at the bottom—rinse them gently with clean water to remove any remaining gel.
🌱 Step 3: Dry the Seeds Completely
Spread the seeds in a single layer on a paper towel or seed-saving tray. Place them in a warm, dry spot with good airflow—a sunny windowsill or a fan on low speed helps speed up drying. The seeds need to dry for 3-7 days until they’re completely brittle and crumble easily between your fingers.
If you rush this step, the seeds will mold or rot in storage. I test them by gently pressing a few—if they shatter, they’re ready. Store them in a small envelope or airtight container in a cool, dark place. Label each with the variety and date—next year’s garden will thank you!
⏰ Step 4: Store and Test Viability
Keep the dried seeds in a sealed container with a silica gel packet or a drop of vinegar to absorb excess moisture. Store them in a cool, dark place—a fridge or basement works well. Seeds stay viable for 3-5 years, though germination rates drop after the first year.
Before planting next spring, test a few seeds by placing them on a damp paper towel in a sealed bag. Keep them in a warm spot and check for sprouts in 5-7 days. If germination is slow, store the seeds in the fridge for another month to break dormancy—this trick works wonders for stubborn varieties.
Tips & tricks for perfect tomato seed saving
Here's what nobody tells you about saving tomato seeds—these tricks make all the difference between viable seeds and wasted effort.
Variety Matters: Stick with heirloom tomatoes for best results—hybrid varieties often don't produce true seeds. I've had the most success with 'Brandywine' and 'Cherokee Purple' because their flavor and seed viability are consistent. If you must use hybrids, be prepared for potentially lower germination rates or less predictable characteristics in next year's plants.
Fermentation Timing: The 3-5 day fermentation window is crucial—don't rush it! I've learned the hard way that cutting this short leaves viable seeds mixed with weak ones. Watch for the moldy scum to form and the good seeds to sink. If your kitchen is cooler than 70-75°F, extend fermentation by 1-2 days to ensure proper separation. The bubbles indicate active fermentation, which is exactly what breaks down the gel and weak seeds.
Drying Strategy: Spread seeds in a single layer on a paper towel—don't stack them! I use a fan on low speed to create airflow while keeping seeds in a warm spot. If your humidity is high, add a small packet of silica gel to the drying container. The seeds are ready when they shatter between your fingers, not when they're just dry to the touch. This step prevents mold during storage.
Pro Tips for Save Tomato Seeds To Plant
- Here's what nobody tells you about saving tomato seeds—these tricks make all the difference between viable seeds and ...
- Variety Matters: Stick with heirloom tomatoes for best results—hybrid varieties often don't produce true seeds. I've ...
- Fermentation Timing: The 3-5 day fermentation window is crucial—don't rush it! I've learned the hard way that cutting...
Frequently asked questions
Got questions about saving tomato seeds? You’re not alone! Here are some of the most common concerns—and their easy solutions—to help you master the process like a pro.
Can I save seeds from any tomato variety?
Not all tomatoes are created equal! Heirloom and open-pollinated varieties are the best choices for seed saving because they’ll grow true to type. Hybrid varieties (like those labeled "F1") won’t produce reliable offspring—think of them as one-off culinary experiments, not seed sources. Always check the seed packet or plant tag for clues!
How long do saved tomato seeds last before planting?
Freshness matters! Seeds stored in a cool, dry place (like a sealed envelope in the fridge) can stay viable for 3–5 years, but germination rates drop over time. For best results, plant them within 1–2 years. If germination is slow, try soaking seeds in warm water for 24 hours to boost energy.
What if my seeds mold or smell bad during fermentation?
Mold or a funky odor means your seeds need a little more (or less) moisture. Too wet? Add a splash more water and stir gently. Too dry? Cover the jar loosely and wait a few more days. If mold appears, discard the batch—it’s a sign of bacterial growth. Always work with clean hands and tools to avoid contamination!
Do I need to dry seeds in the sun, or can I use an oven?
Sun-drying is ideal for most gardeners, but if you’re in a humid climate or short on time, a low-and-slow oven method works too. Spread seeds on a baking sheet and dry at 100–120°F (38–49°C) for 1–2 hours, checking frequently. Avoid high heat—it can kill viability! For extra safety, store dried seeds in a paper envelope (not plastic) to prevent moisture buildup.
What’s the best way to store seeds long-term?
Labeling and environment are key! Use paper envelopes or glass jars with a silica gel packet (or uncooked rice) to absorb moisture. Store in a cool, dark place (like a fridge or seed vault) and update labels yearly with the variety and harvest date. Pro tip: Freeze seeds for up to 20 years by sealing them in airtight containers!
Wrapping up and next steps
Saving tomato seeds is a rewarding way to ensure heirloom quality and sustainability for your garden! By following these simple steps—fermenting, cleaning, drying, and storing—you’ll have a fresh supply of seeds ready for next year’s juicy harvest. 🌱
Now that you’re equipped with the know-how, there’s no better time to start! Grab those ripe tomatoes, follow the process, and soon you’ll be growing homegrown tomatoes with seeds you saved yourself. Happy gardening—your future plants (and taste buds) will thank you!